


If you’re wondering how to prep teeth for at-home whitening, start by considering your oral health, not by scrubbing harder or adding extra steps. A little uncertainty is normal, especially if you have sensitive teeth, sore gums, or fillings and crowns that might affect how your smile looks afterward.
This guide covers what to notice before you begin, when a dental check-up may be sensible, and how to keep your everyday brushing and cleaning routine straightforward. Crowns, veneers, and fillings don’t whiten like natural teeth, so knowing what to expect can help you avoid surprises.
Think of preparation as a simple self-care routine, not a test you have to pass. Review any concerns, read the product directions, and decide whether an at-home option such as the GLI GLI Teeth Whitening Kit fits your routine.
Key Takeaways
- Learn how to prep teeth for at-home whitening by starting with a review of your oral-health concerns.
- Know when symptoms or gum concerns make a dental check-up a sensible next step.
- Understand why crowns, veneers, and fillings may remain a different shade from natural teeth.
- Use a simple prep checklist: brush and floss as usual, avoid aggressive scrubbing, and read the product directions.
- Keep expectations realistic: results vary, and a check-up can assess concerns but cannot promise a specific shade.
Why prepare your teeth before at-home whitening?
A brighter smile starts with a thoughtful baseline, not extra scrubbing or a last-minute shortcut. Preparation means noticing oral-health concerns, understanding how existing dental work may respond, and reading the directions for the product you plan to use. These steps can help you approach whitening with realistic expectations and pay attention to how your teeth feel.
Whitening products are designed to change the colour of natural teeth. Crowns, veneers, and fillings won’t change shade in the same way, so they may look different from the surrounding teeth afterward. Consider this before choosing a routine if visible dental work is part of your smile. For a broader overview of how whitening works and the methods available, see Tooth whitening.
What does preparing teeth for whitening actually mean?
Keep everyday oral hygiene separate from your whitening routine. Brush and floss as you normally do, and avoid aggressive scrubbing or adding unfamiliar products just to “get ready.” A comfortable starting point makes it easier to notice how your teeth feel as you follow a whitening routine. For application and timing, use the specific directions supplied with your product rather than assuming all kits work the same way.
If you’re exploring how to prep teeth for at-home whitening, think of preparation as getting informed, not trying to force a result. It can help you make considered choices, but it can’t guarantee a particular shade or outcome. The GLI GLI Teeth Whitening Kit is an at-home option to consider once you’ve reviewed your needs. Follow its product-specific directions.
When is a dental check-up before teeth whitening worth considering?
Consider discussing whitening with a dental professional if you have tooth pain, gum discomfort, or another visible concern in your mouth. A check-up is also worth considering if routine dental care is overdue. You can describe what you’ve noticed and ask whether it should be addressed before starting a cosmetic routine. A check-up cannot promise a particular whitening result or predict your final shade.
Oral-health readiness is about making a considered choice; a cosmetic shade goal is about the look you hope to achieve. Keep those goals distinct. An article can offer general preparation guidance, but it can’t diagnose tooth or gum conditions. If something feels wrong, pause your whitening plans and discuss the concern with a dental professional. Starting with a clear understanding of your concerns is more useful than trying to whiten through discomfort.
What can a dental check-up assess before at-home teeth whitening?
A dental check-up gives you an opportunity to discuss symptoms, gum health, and visible concerns before adding whitening to your routine. The conversation may help you understand whether something you’ve noticed deserves attention first. You can also explain your goals and ask how existing dental work might affect the appearance of your smile.
Bring up tooth sensitivity, pain, gum irritation, and any recent changes, even if they seem minor. Mention recent dental treatment and restorations such as fillings, crowns, or veneers. This context can help make the discussion more focused. The American Dental Association’s guidance on whitening also covers possible side effects, including tooth sensitivity and gum irritation.
Which symptoms or dental history should you bring up?
Before an appointment, jot down what you’ve noticed and when it happens. Is sensitivity brief or lingering? Do your gums feel irritated during brushing? Have you had recent dental work, or do you have restorations in visible areas? A few clear notes can help you explain your concerns.
If you have unexplained pain or another concerning symptom, pause whitening and seek professional guidance rather than trying to work around it. This article can’t diagnose tooth or gum conditions. A dental professional can assess your concerns in context and discuss whether whitening is appropriate for your situation.
Does everyone need a dental check-up before whitening?
Not necessarily. A check-up isn’t a universal prerequisite for everyone considering at-home whitening. Whether professional advice makes sense depends on your oral-health circumstances, symptoms, dental history, and any recent changes you’ve noticed. If you’re unsure, discussing those details can help you make a more informed choice.
A check-up can help assess oral-health concerns and discuss suitability, but it can’t promise an exact shade or guarantee a whitening result. Shade outcomes vary, and restorations may not change colour along with natural teeth. Keep the cosmetic goal separate from the health conversation.
Once you’ve considered your circumstances, follow the directions for the specific whitening product you choose, along with any applicable professional advice. You can also explore at-home whitening options from GLI GLI.
Sensitivity, stains and dental work: what to consider before whitening
Sensitivity, discoloration, and dental restorations can shape your expectations, but they don’t necessarily have the same cause or call for the same response. Note what you’ve noticed before starting. If something is painful, persistent, or worrying, don’t try to diagnose it yourself. Pause and seek professional guidance. The Cleveland Clinic also recommends discussing whitening with a dentist, particularly if you have concerns that may affect your oral health.
| Concern | What to note | Sensible next step |
|---|---|---|
| Tooth sensitivity | Which teeth feel sensitive, what seems to trigger it, and whether it’s new or familiar. | Consider professional advice if it’s unexplained or concerning, and follow the whitening product’s directions. |
| Surface stains | Where discoloration appears and whether it seems to sit on the tooth surface. | Keep expectations realistic. Appearance alone can’t establish the cause of a stain. |
| Pain or gum irritation | Any discomfort, visible changes, or symptoms that persist or worsen. | Pause whitening and seek professional guidance rather than treating the symptom with a cosmetic product. |
| Crowns, veneers, or fillings | Which restorations are visible beside natural teeth. | Remember that restorations don’t whiten like natural enamel, so shades may differ. |
How can tooth sensitivity affect your preparation?
Make a note of existing sensitivity before beginning a whitening routine. Sensitivity can have different causes, so don’t assume every twinge means the same thing or that whitening is automatically unsuitable. GLI GLI offers options for sensitive teeth, though individual experiences can vary. For more context, read this guide to sensitive whitening strips. If pain is unexplained or concerning, pause and get professional guidance.
What should you know about stains and existing dental work?
Whitening changes the colour of natural teeth, not crowns, veneers, or fillings. If restorations sit beside natural teeth, their shades may look less uniform after whitening. This isn’t a prediction of a particular result; it’s a reason to consider your smile as a whole before choosing a routine. Surface staining and other discoloration can’t always be distinguished by appearance alone, so avoid treating a stain as a diagnosis.
As you think through how to prep teeth for at-home whitening, separate what you can observe from what needs assessment. For general product-selection context, explore this at-home teeth whitening kit guide, then follow the directions for the specific product you choose.
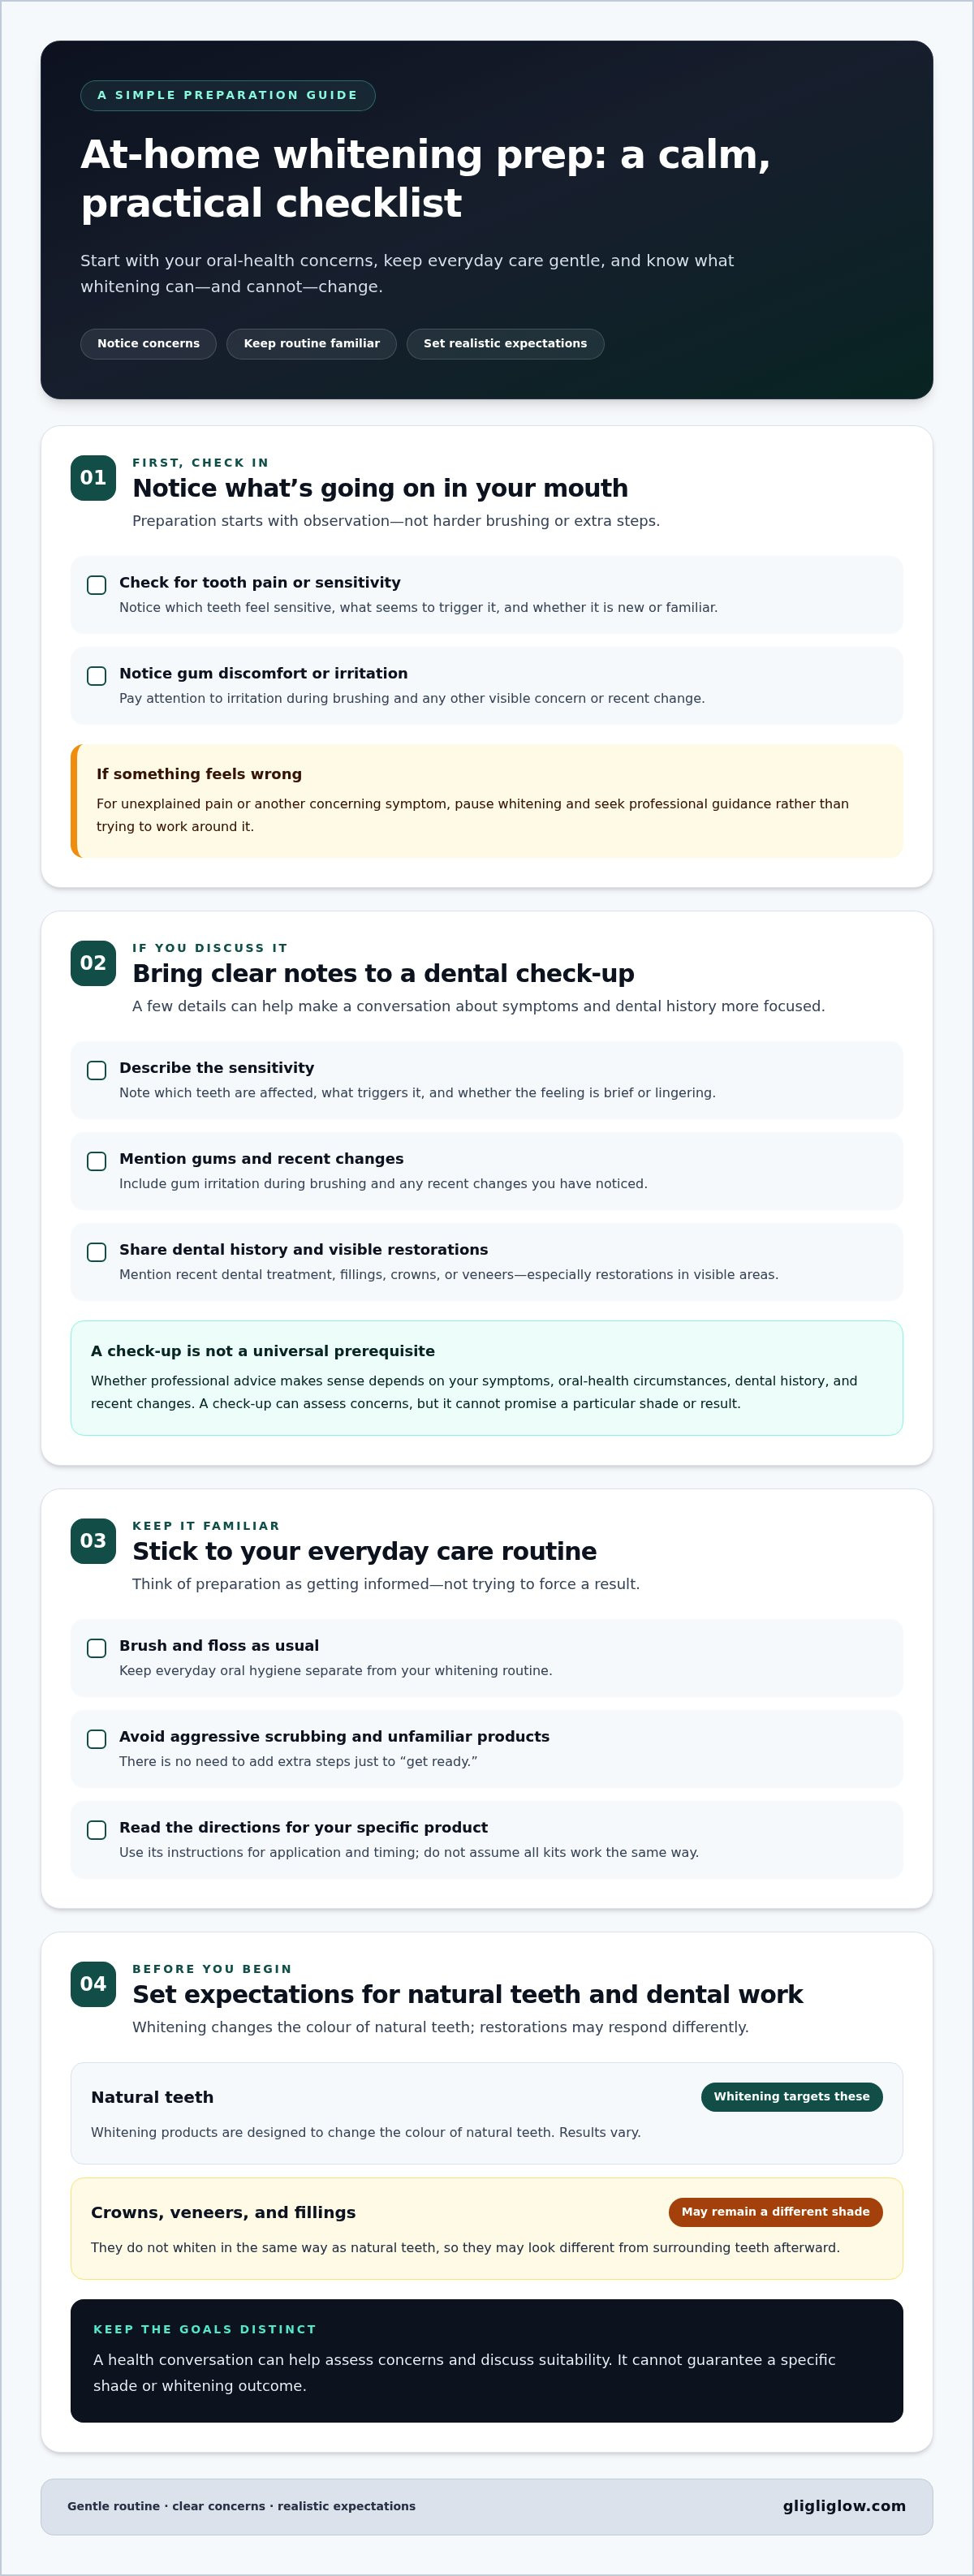
At-Home Whitening Prep: A Practical Checklist
A few simple steps can make your first whitening session feel more organized. Use this checklist before starting, and keep everyday oral care separate from the instructions for your whitening product.
- Review your concerns. Think about any sensitivity, discomfort, gum irritation, or visible changes you’ve noticed. If something concerns you, pause and seek appropriate professional advice before starting.
- Clean gently. Brush and floss as part of your usual routine. Use a gentle touch. Extra scrubbing won’t prepare teeth for whitening and may leave your mouth uncomfortable.
- Read the directions. Check the product instructions for application, timing, and relevant cautions. Don’t assume the steps for one product apply to another.
- Prepare your supplies. Set out the whitening product and anything else its directions call for. Choose a time when you can follow each step without rushing.
A good whitening prep checklist is simple: review concerns, clean gently, read the product directions, and set out what you need.
What should you do before your first whitening session?
If you’d like a personal before-and-after comparison, note your starting tooth shade in consistent lighting. A photo can help you compare later, but lighting and camera settings affect how teeth appear, so treat it as a reference rather than a precise measurement. Read all directions before opening or applying the product, and set aside enough time to follow them carefully.
What should you avoid doing just before whitening?
Skip harsh brushing and unverified home remedies used to “prep” your teeth. Don’t exceed the product directions or combine whitening products unless you’ve received appropriate guidance. If brushing causes discomfort, stop and seek advice. If the whitening application itself feels uncomfortable, follow the product’s instructions for what to do next and get professional guidance if symptoms concern you.
That’s the heart of how to prep teeth for at-home whitening: keep your routine gentle and let the product directions guide the whitening steps. When you’re ready to choose an at-home option, explore the GLI GLI Teeth Whitening Kit and follow its specific instructions for use.
Start your whitening routine with clear expectations and a gentle plan
You’ve considered your oral health, noted any sensitivity, and prepared gently. Now keep the routine simple: use your whitening product only as its directions describe, and take the time to follow each step. Everyday brushing and flossing are part of preparation; application details belong to the product instructions.
How should you move from preparation to product use?
Before you begin, read the full directions for application, session timing, and any cautions. Don’t assume another kit or whitening product follows the same schedule. If you experience unexpected discomfort, stop and follow the product’s guidance. Seek professional advice if symptoms persist or concern you.
The GLI GLI Teeth Whitening Kit is an at-home option to consider after you’ve reviewed your needs. Use its own product instructions to guide you, rather than general preparation tips or advice meant for another whitening system.
What makes a realistic at-home whitening plan?
Patience matters. Follow the stated directions consistently rather than applying a product more often or for longer in pursuit of faster changes. Results can vary, and no preparation routine can promise a specific speed, shade, or lasting outcome. Natural teeth and restorations may also end up different shades, so keep expectations grounded in what whitening can and can’t change.
Keep general preparation advice separate from product-specific directions. General guidance can help you feel ready, but the instructions supplied with the product should guide its application and use. If anything is unclear or doesn’t feel right for your circumstances, pause and seek suitable professional advice instead of improvising.
At its simplest, how to prep teeth for at-home whitening comes down to a steady sequence: consider your oral health, make a note of sensitivities, prepare gently, then follow the chosen product’s directions. You don’t need an elaborate pre-whitening ritual or extra steps that aren’t in the instructions.
Let your first session be a considered act of self-care. Choose an at-home option that fits your routine, understand its product details, and move forward at a comfortable pace. A gentle plan helps you begin with realistic expectations and room to notice how you respond.
Begin with a thoughtful, gentle whitening routine
Feeling ready starts with a few simple choices. Consider your oral health and any symptoms before whitening, keep brushing and flossing gentle, and follow the directions for your chosen product. Remember that results vary, and crowns, veneers, and fillings may not change shade like natural teeth.
That’s the heart of how to prep teeth for at-home whitening: create a comfortable starting point, take sensitivities seriously, and keep expectations realistic. If you have pain or another concern, pause and seek professional guidance before beginning.
The GLI GLI range includes at-home whitening kits and maintenance products, with options for sensitive teeth. Its products are described as developed by dental experts. Explore the GLI GLI Teeth Whitening Kit and review its product details to see whether it fits your routine.
Start gently, follow the directions, and let your self-care routine move at a comfortable pace.
Frequently Asked Questions
Do I need a dental check-up before whitening my teeth at home?
A dental check-up isn't a universal requirement before at-home whitening, but professional advice is sensible if you have tooth pain, gum concerns, noticeable changes, or overdue routine care. Your symptoms, dental history, and oral-health circumstances all matter. A dentist can discuss your concerns and whether whitening is appropriate for you, but an article can't examine or diagnose your teeth or gums. Use that guidance as part of how to prep teeth for at-home whitening.
Should I get my teeth cleaned before at-home whitening?
You don't automatically need a professional cleaning before whitening. Keep brushing and flossing as part of your normal oral-care routine, and distinguish that from an appointment for a dental cleaning. During routine care, you can ask about plaque, visible staining, and whether timing matters for your situation. Then follow your whitening product's directions for application. Don't add aggressive brushing or extra steps in an effort to prepare.
Can I whiten my teeth if I have sensitive teeth?
Existing sensitivity is a reason to read product directions carefully and consider whether whitening feels appropriate for you. Note what triggers the sensitivity and whether it’s familiar or new. GLI GLI offers solutions for sensitive teeth, but that doesn’t promise pain-free use or a particular result. If discomfort is persistent, severe, or unexplained, pause and seek professional advice before starting or continuing a whitening routine.
Can I whiten crowns, veneers, or fillings at home?
Whitening products affect natural teeth and don’t change the colour of crowns, veneers, or fillings in the same way. If restorations are visible beside natural teeth, their shades may look different after whitening. Keep that possibility in mind when setting expectations. If you’re concerned about how your smile may look, discuss shade goals and existing dental work with a dental professional before beginning an at-home routine.
Should I brush my teeth right before using a whitening kit?
Follow the exact instructions for your whitening kit, since brushing advice can be product-specific. Keep up gentle everyday brushing and flossing, but don’t scrub harder or add unverified preparation steps to try to improve results. If brushing causes pain or irritation, pause rather than pushing through it, and seek appropriate dental guidance. Product directions should guide application and timing, not general assumptions about how every kit is used.
What should I do if my teeth or gums hurt before whitening?
Postpone whitening if you have unexplained tooth pain or concerning gum symptoms, and seek professional guidance. Whitening is a cosmetic routine, not a way to resolve underlying oral-health concerns. The cause of pain or irritation can’t be determined from an article, so avoid trying to diagnose it or cover it with home remedies. Once you’ve received suitable advice, you can reconsider whitening according to your circumstances and product directions.
How long before whitening should I prepare my teeth?
There’s no single preparation timeline that suits everyone. Review any oral-health concerns first, note existing sensitivity, and read the product directions before your session. Give yourself enough time to understand the application steps and follow them without rushing. Don’t assume you need to wait a set number of days unless that timing is stated in the product instructions or recommended by a dental professional.
Can I whiten my teeth if I have braces or recent dental work?
Braces or recent dental treatment can affect whether whitening is suitable or how even visible results may look, but the details depend on your situation. Discuss your appliance or treatment with a dental professional before starting, especially if the work was recent. Follow the whitening product’s directions, too. Don’t assume every type of brace, restoration, or treatment has identical restrictions or will respond in the same way.


